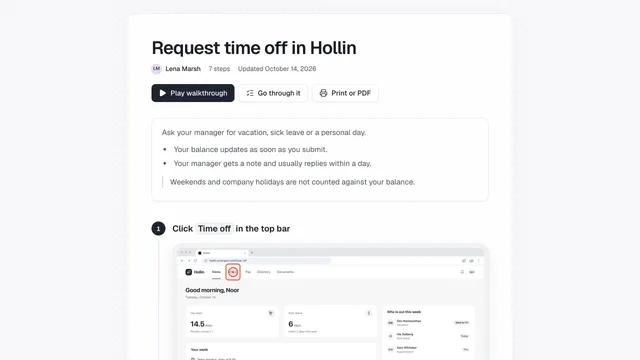
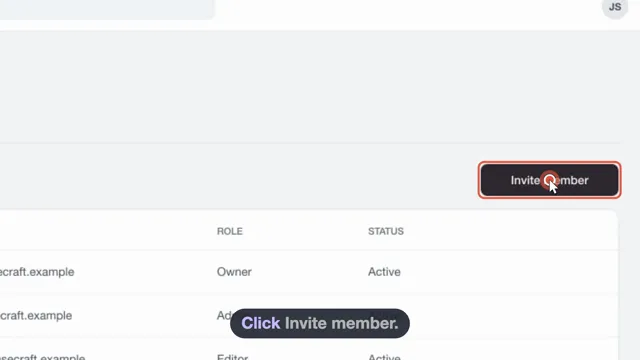
Install showdo
showdo is one app with three recorders. All sign in to your showdo account and save guides to your workspace.
- showdo for Mac records anything on your Mac: native apps, the Finder, System Settings and every browser.
- showdo for Chrome records websites from Chrome's side panel, with no other software needed.
- showdo for Android records what you do on your phone. It is coming soon to Google Play. See Record on your Android phone.
Start with your showdo account. It comes with a workspace where your guides are saved.
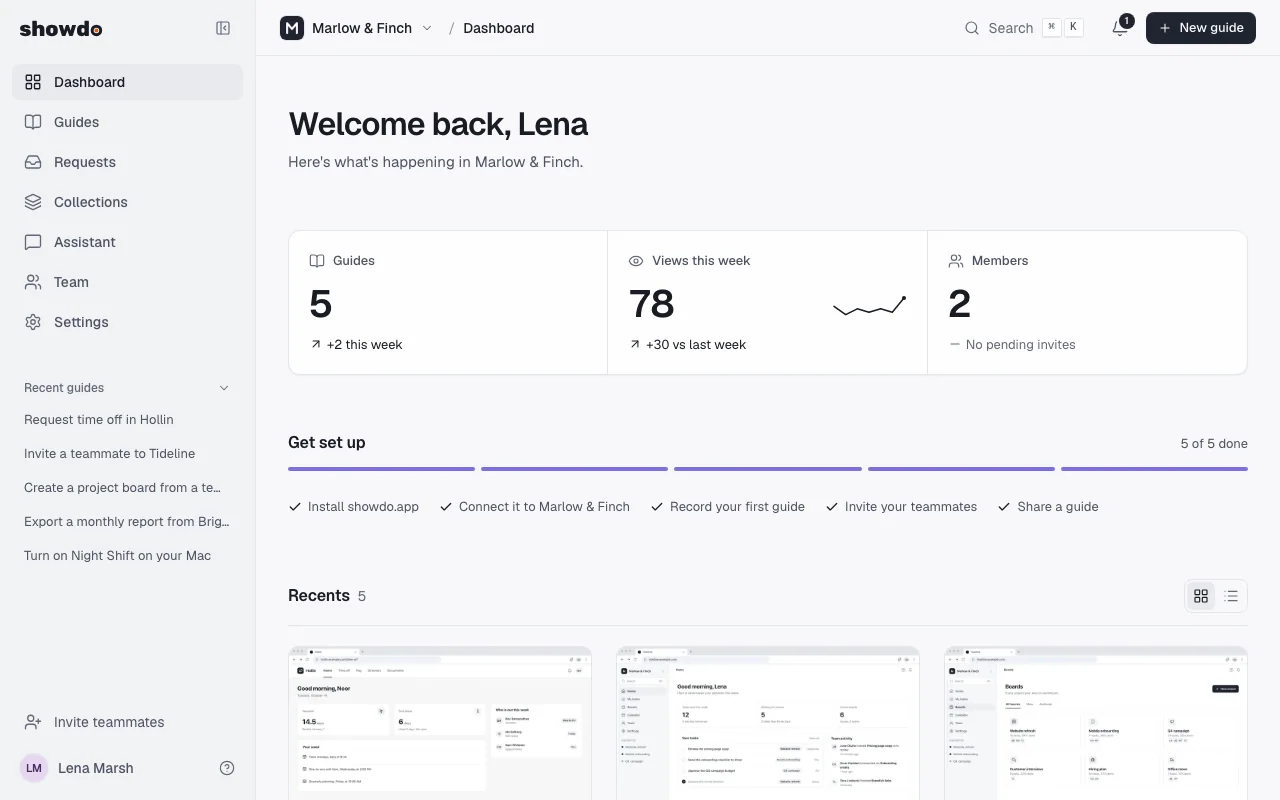
showdo guide, 10 steps
Create your showdo account
Sign up with your email and set up your workspace.
- 1
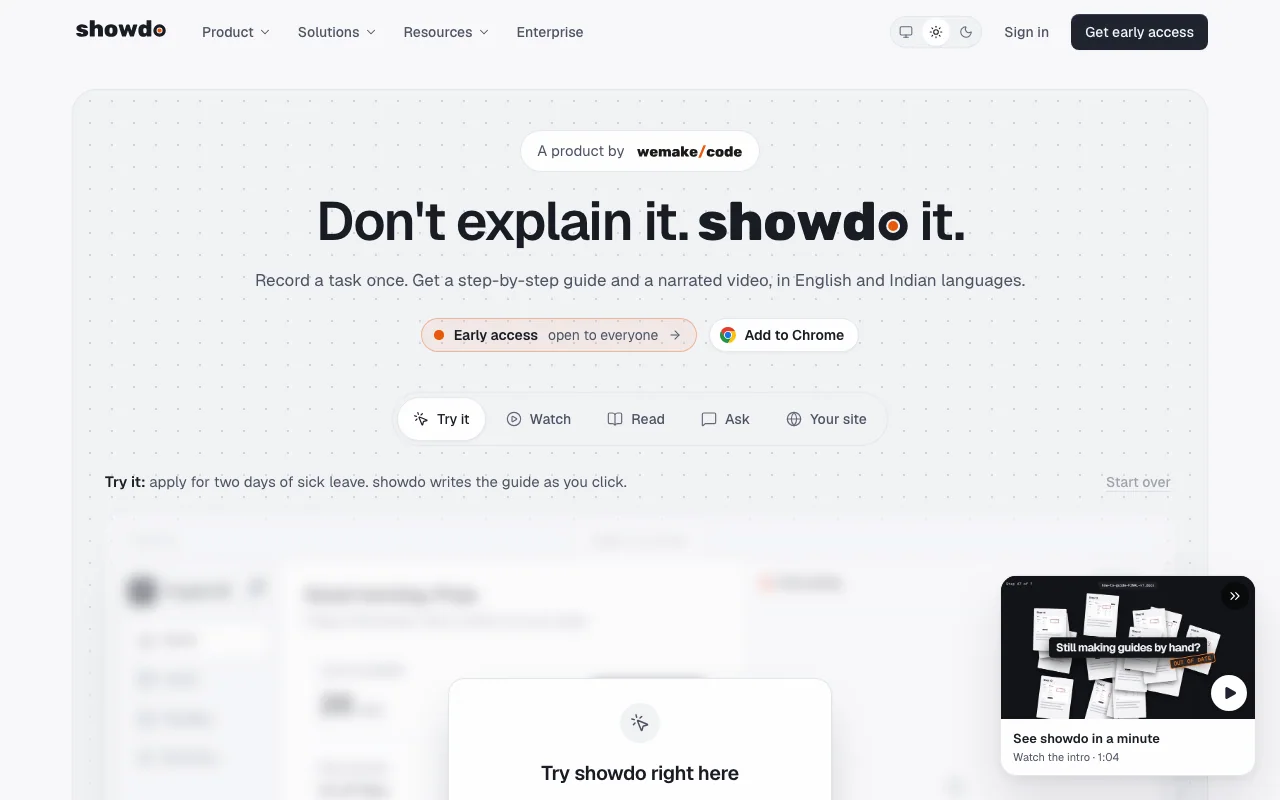
Click Get early access
On the showdo home page, this takes you to sign-up.
Then get a recorder:
- Mac: download showdo for Mac from the download section, drag it into Applications, open it and sign in. It lives in your menu bar, and in the Dock while its window is open.
- Chrome: add the Chrome extension, pin it to your toolbar and sign in.
showdo for Mac needs macOS 14 Sonoma or later on an Apple silicon Mac.
Sign in to showdo
The first time you open showdo for Mac or the Chrome extension, it asks you to sign in so it can save to your workspace.
showdo guide, 4 steps
Sign in to showdo for Mac
Approve the code the app shows, in your browser.
- 1
Check the code matches the one in the app
In showdo for Mac, choose Sign in to showdo. Your browser opens this page. If the codes differ, or you did not start this, do not approve.
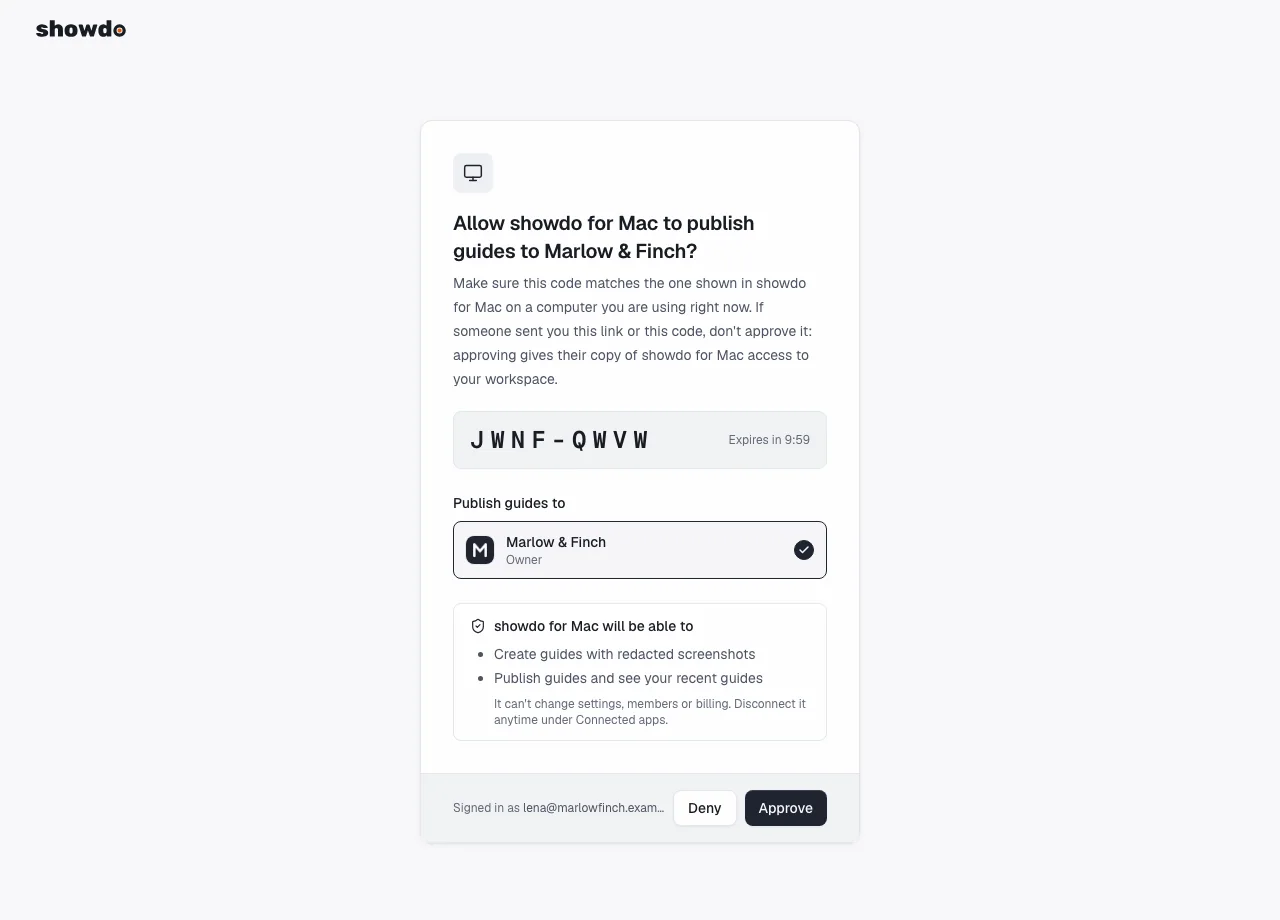
You can see and disconnect apps any time from Settings, Connected apps.
On Android, the app shows a short code instead. See Record on your Android phone.
Grant permissions
The first time you record, macOS asks for two permissions. showdo cannot see your clicks or take screenshots without them.
- Screen Recording lets showdo take a screenshot at the moment of each click.
- Accessibility tells showdo which button, menu or field you clicked, so steps get the right names.
- Microphone (optional) transcribes your narration on your Mac.
If you skipped a prompt, open System Settings, Privacy & Security, find the permission and switch showdo on. Then quit and reopen showdo.
Record your first guide
Do the task once at a normal pace. Each click becomes a step, and typing in a field becomes one step.
- Choose Record in showdo, or click the showdo icon in the menu bar and choose Start recording.
- Pick what to record: your whole screen or a single app.
- Do the task. Use the floating mini bar to pause, mute narration or discard.
- Click Finish. Your guide opens in your workspace with titles and descriptions already written.
Need a screenshot without a click? Press ⌃⌥⌘S while recording to add one by hand.
Talk through what you are doing. showdo uses your narration to write clearer steps, and the audio never leaves your Mac.
Record on your Android phone
showdo for Android records what you do on your phone: your taps, what you type and a screenshot for each step. It records only while you are recording, and it never taps or changes anything on your phone.
showdo for Android is coming soon to Google Play. It needs Android 11 or later. iPhone is not supported yet.
On your phone, install the app from the download section when it is on Google Play. Open it and choose Connect to your workspace. It shows a short code.
On your computer, enter that code to connect the phone. This works with company sign-in too, and there is no password to type on the phone.
showdo guide, 6 steps
Connect your Android phone
Enter the code your phone shows to link it to your workspace.
- 1
Click your account menu
On your computer, open showdo in your browser and sign in. On the phone, the app shows a short code after you choose Connect to your workspace.
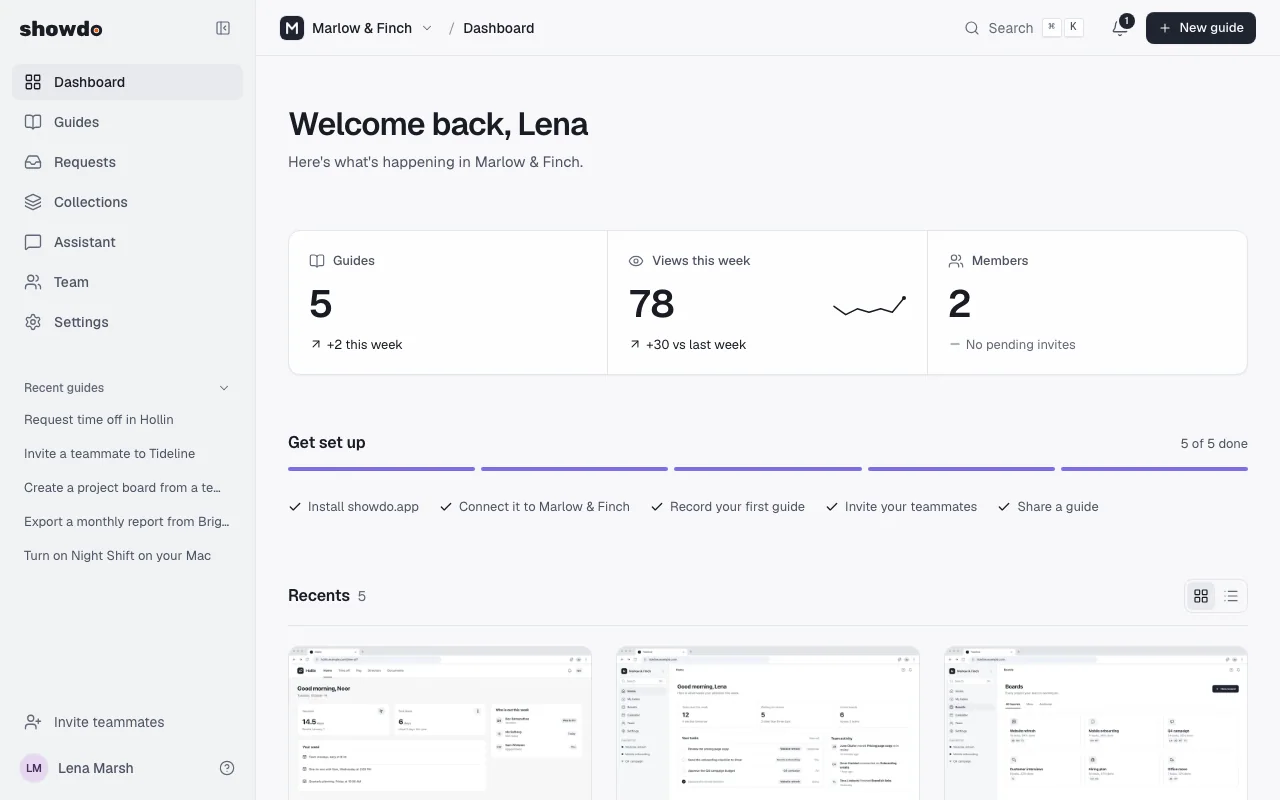
Then record on the phone. The app explains what it collects and asks you to agree. Switch showdo on in your phone's Accessibility settings, choose Record and use your phone as you normally would. A floating button lets you pause, take a screenshot or stop from inside any app. When you stop, a Guide ready notification appears, and the guide opens in your workspace with the steps, screenshots and a highlight where you tapped.
To read your guides on the phone, open the app's library. It is read-only: you edit and share guides on the web.
Privacy on Android. Personal details are blurred on the phone before anything is uploaded. Password, phone-number and one-time-code fields are never captured as typed text. Look through a guide before you share it, and add more blur on the web if you need it.
Edit and clean up
showdo's AI drafts the guide while you record, using your narration if you talk. Editing is about making it yours.
- AI cleanup removes rage clicks, misclicks and undone steps, and flags steps that look accidental so you can decide.
- Rewrite any title or description, or ask showdo to improve a step.
- Annotate screenshots with arrows, boxes and text, crop them, or hide the click highlight.
- Add notes such as tips, alerts and section headers between steps.
- Review private data with the Privacy button. See Keep private details private.
showdo guide, 8 steps
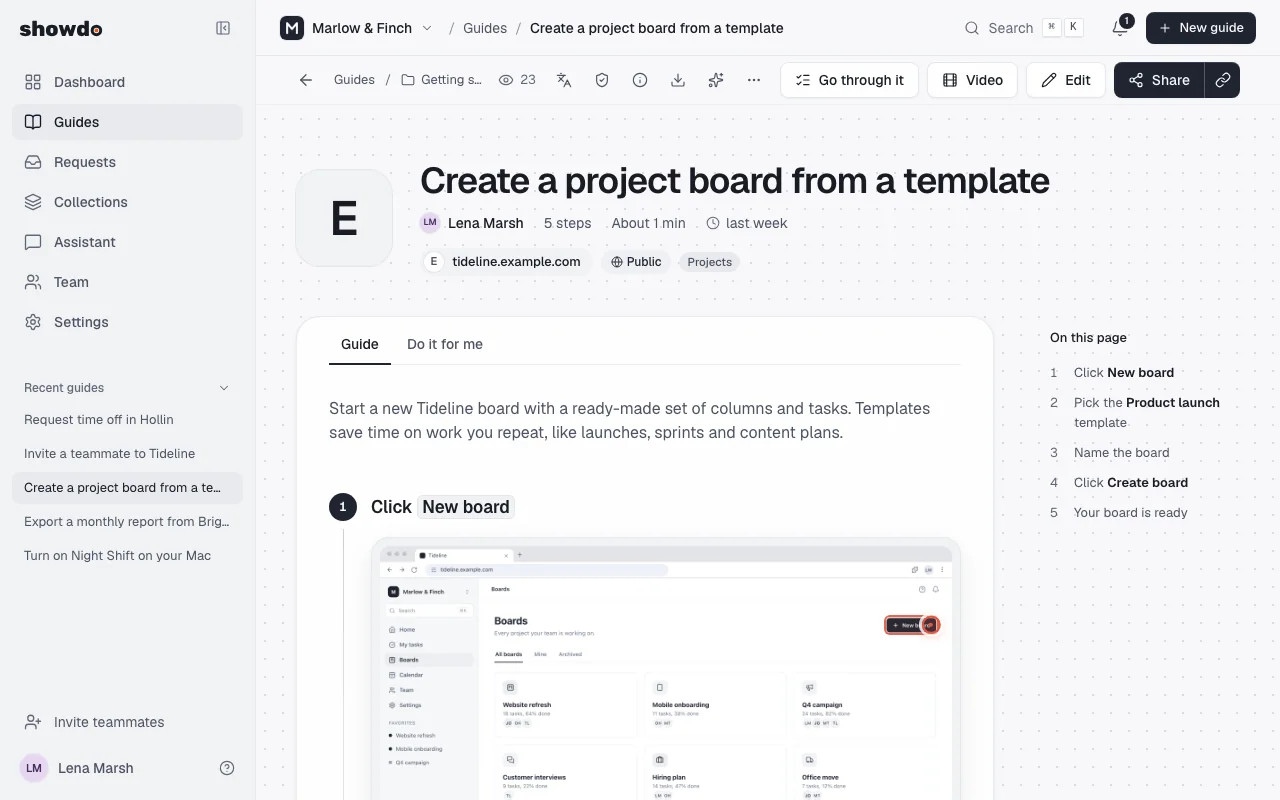
Edit a guide
Reword a step title, add a tip between steps, and find the AI cleanup options.
- 1
Open the guide and click Edit
Titles, descriptions, notes and pictures become editable. Anyone with editor access to the workspace can do this.
showdo guide, 5 steps
Annotate a screenshot
Draw an arrow and add a short label on a step's picture.
- 1
In edit mode, click Edit image on a step
Or click the Annotate, blur or crop button that appears on the picture.
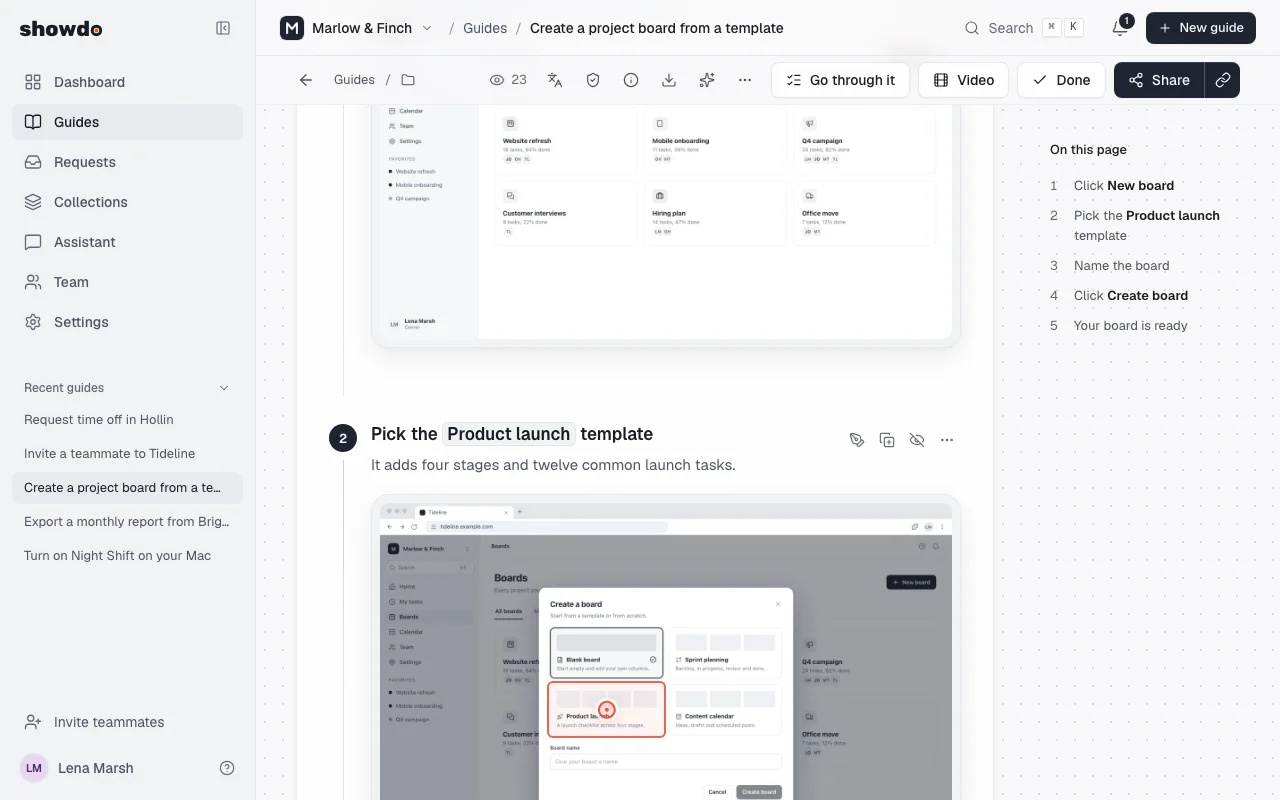
Keep private details private
showdo hides sensitive details before a screenshot leaves your device.
- On your device: emails, phone numbers, card numbers, IBANs and secret keys are blurred in showdo for Mac, showdo for Chrome and showdo for Android before anything is uploaded.
- Passwords are never captured. Password fields are always hidden.
- Narration is turned into text on your Mac. The audio is never uploaded.
- AI privacy scan: showdo lists names, addresses and account numbers it finds so you can review them under Privacy in the guide.
- Add more blur in the web editor any time. Blur can be added there but not removed, and unblurred originals stay on your device.
showdo guide, 6 steps
Review private details
Blur one more detail by hand, then check the list of everything blurred in a guide.
- 1
Click Edit image on a step
showdo blurs emails, phone numbers and card numbers for you. Use the image editor when something else needs hiding, like a name.
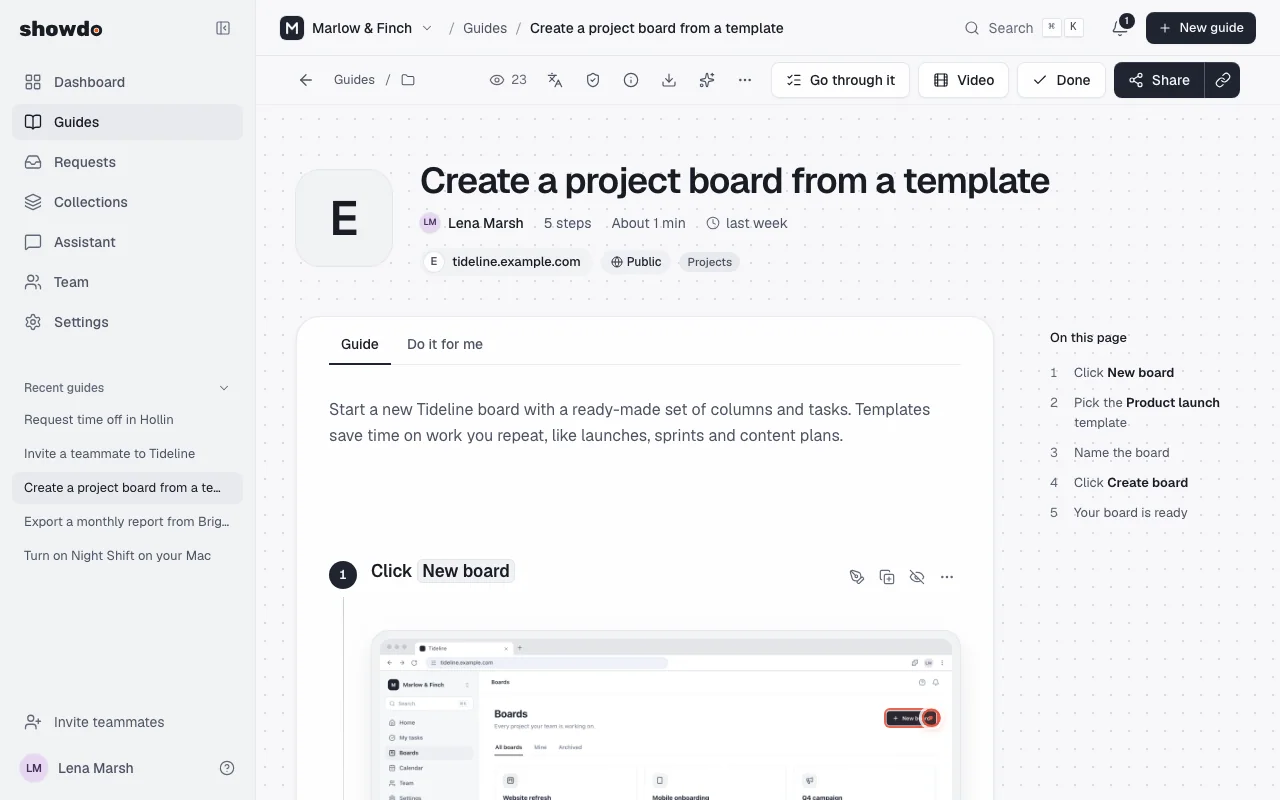
Look through a guide once before you share it. showdo catches a lot, but you know your content best.
Publish and share
Choose who can see a guide, then send the link or export a file. There are three choices:
- Workspace: only members of your workspace.
- Link: anyone with the link.
- Public: listed and visible to anyone, and search engines can find it.
showdo guide, 4 steps
Share a guide with a link
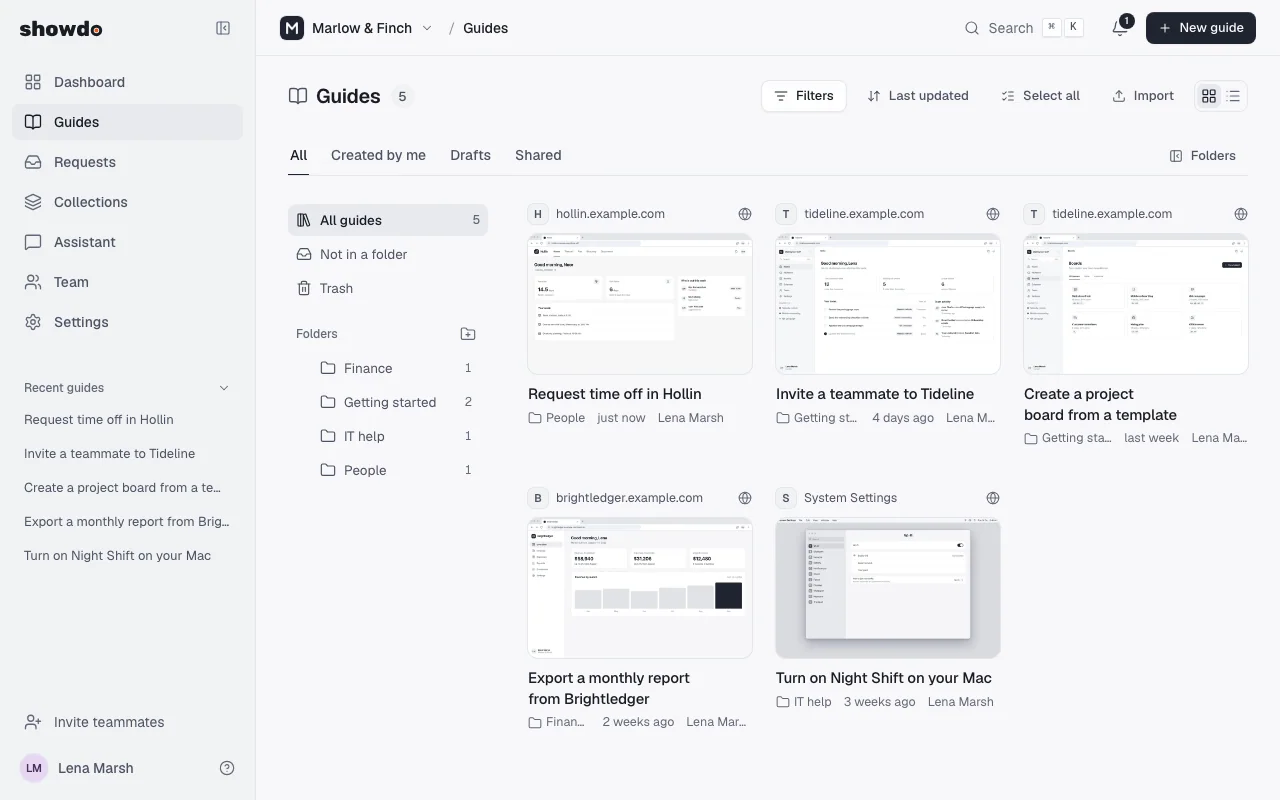
Pick who can see a guide, then copy its link.
- 1
Open the guide you want to share
Every guide in your workspace is listed under Guides.
showdo guide, 3 steps
Export a guide as a file
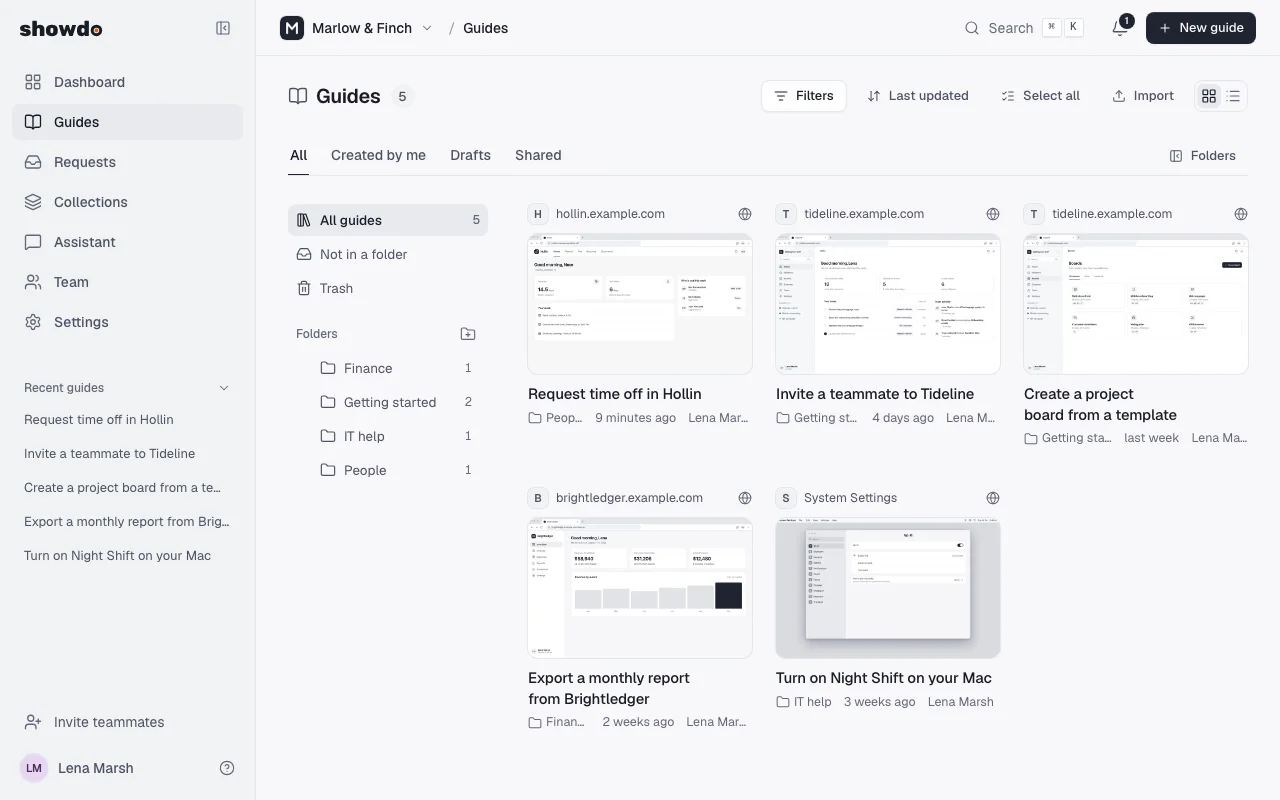
Download a guide as a web page, or as Markdown with its pictures.
- 1
Open the guide you want to export
Every guide in your workspace is listed under Guides.
Show a guide on your own website
Your people can read a guide right inside your help site, intranet, Notion, Confluence or learning tool, without going to another website.
First add the website to your workspace's list, then copy the code for the guide. The guide must be published and shared with Anyone with the link or Public.
showdo guide, 5 steps
Allow a website to show your guides
Add your help site to the list of websites that can show your guides.
- 1
Click Settings
Only owners and admins can change this list.
showdo guide, 6 steps
Embed a guide on your website
Choose how the guide looks, then copy the code for your page.
- 1
Open the guide you want to show
It needs to be published and shared with Anyone with the link or Public.
Website addresses. Add the full address, for example https://help.acme.com. Use a star to include every page of a company site: https://*.acme.com. You can also add Notion, Confluence and other common tools with one click. Only owners and admins can change the list. If a website is not on the list, the guide does not show there.
Simple is a plain frame with a fixed height. It works anywhere that accepts a frame:
<iframe src="https://your-showdo-address/embed/your-guide" width="100%" height="560" style="border:0" title="Your guide" loading="lazy"></iframe>
Auto-size grows and shrinks with the guide, so there is no scroll bar inside the page:
<div data-showdo-embed="your-guide" data-title="Your guide"></div>
<script async src="https://your-showdo-address/embed.js"></script>
Your logo and brand colour from Settings, Branding appear on the guide. You can turn off the small showdo badge for every embedded guide in Settings, Websites.
To show a guide where you paste links, like Notion or Confluence, paste the normal showdo link of the guide. Tools that support it show the guide in place, and chat tools such as Slack and Teams show a preview card with a link. The embedded guide sets no cookies and saves nothing on the visitor's device.
Organize your library
- Folders and tags keep guides findable. Search covers titles, steps and notes.
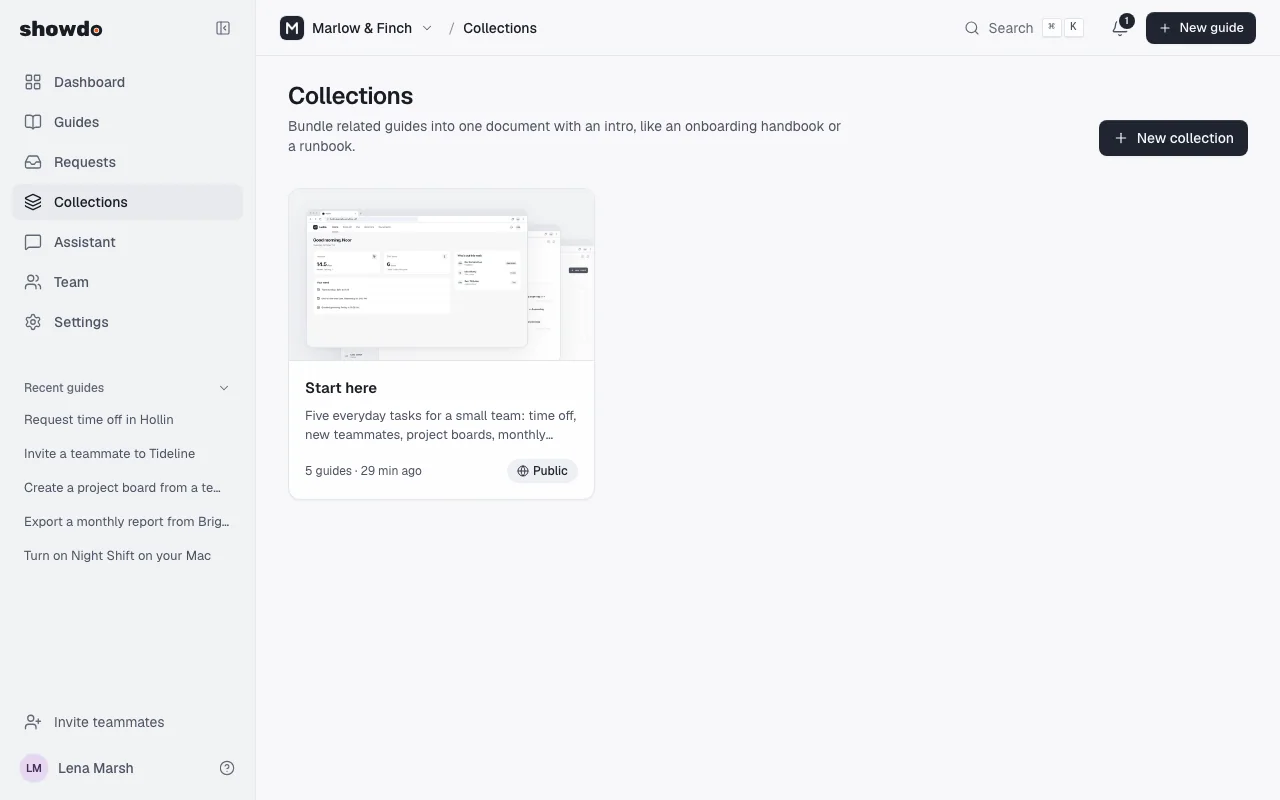
- Collections combine several guides with intro text into one document, such as an onboarding checklist or a standard operating procedure.
- Translate creates a copy of a guide in another language with one click.
showdo guide, 8 steps
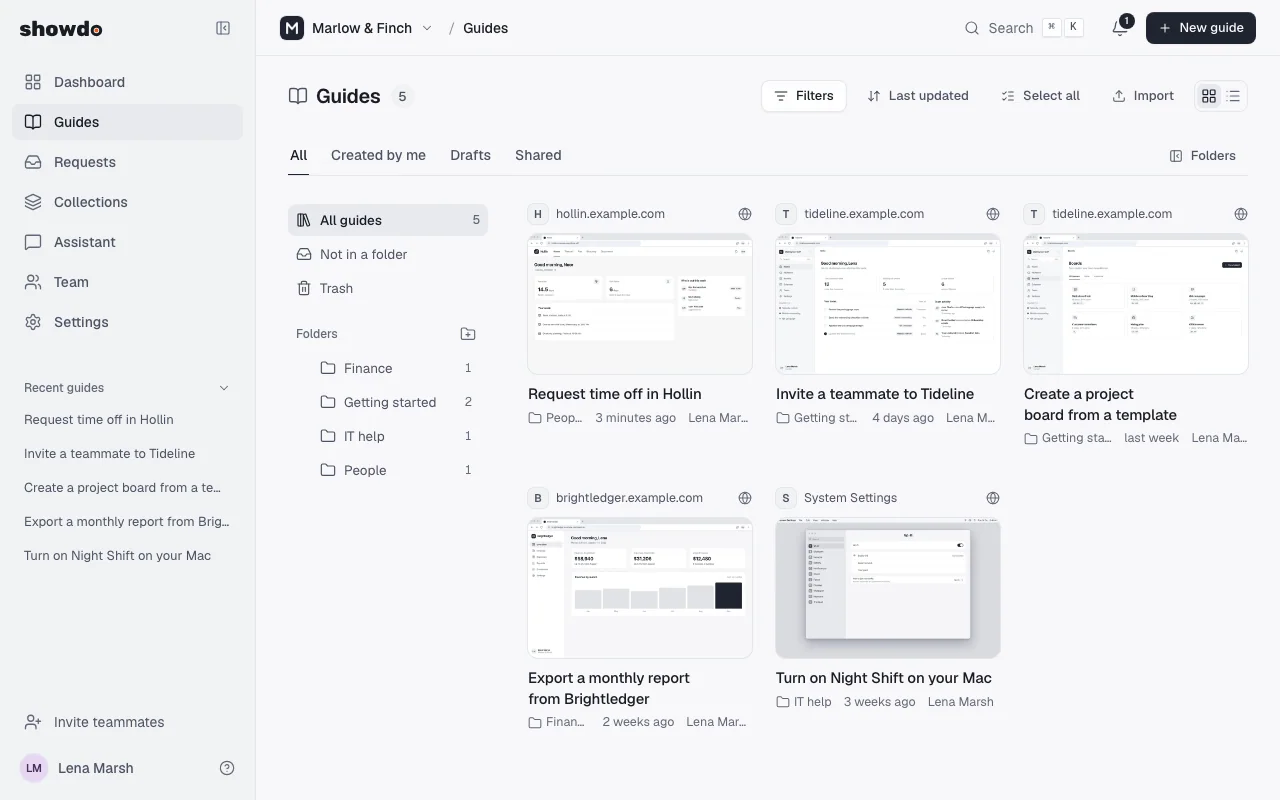
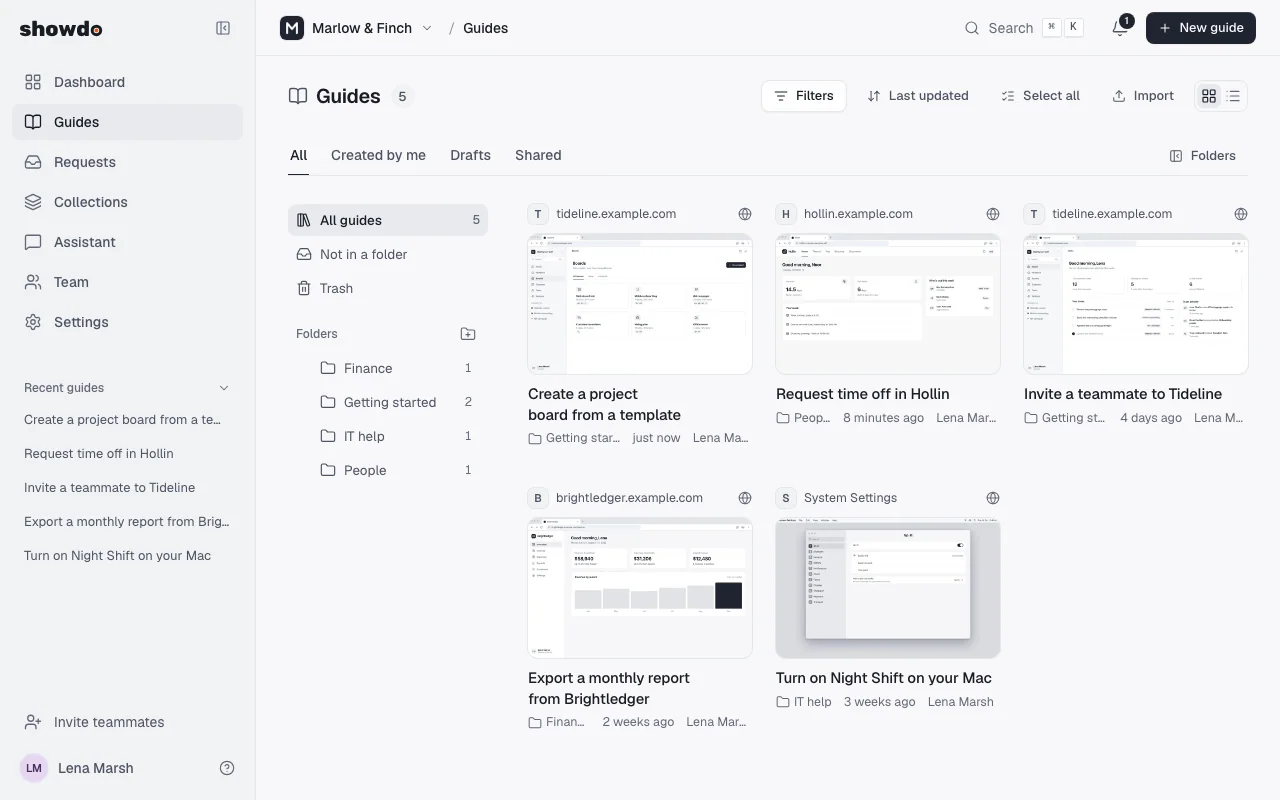
Organize guides with folders and tags
Make a folder, move a guide into it and give the guide a tag.
- 1
Click New folder
It is the small folder button next to Folders.
showdo guide, 8 steps
Bundle guides into a collection
Put related guides together with a short introduction, like a new hire handbook.
- 1
Click New collection
Invite your team
Invite people by email and give each one a role.
showdo guide, 8 steps
Invite a teammate to your workspace
Send an invitation by email and choose what the person can do.
- 1
Click Team
Everyone in your workspace is listed here.
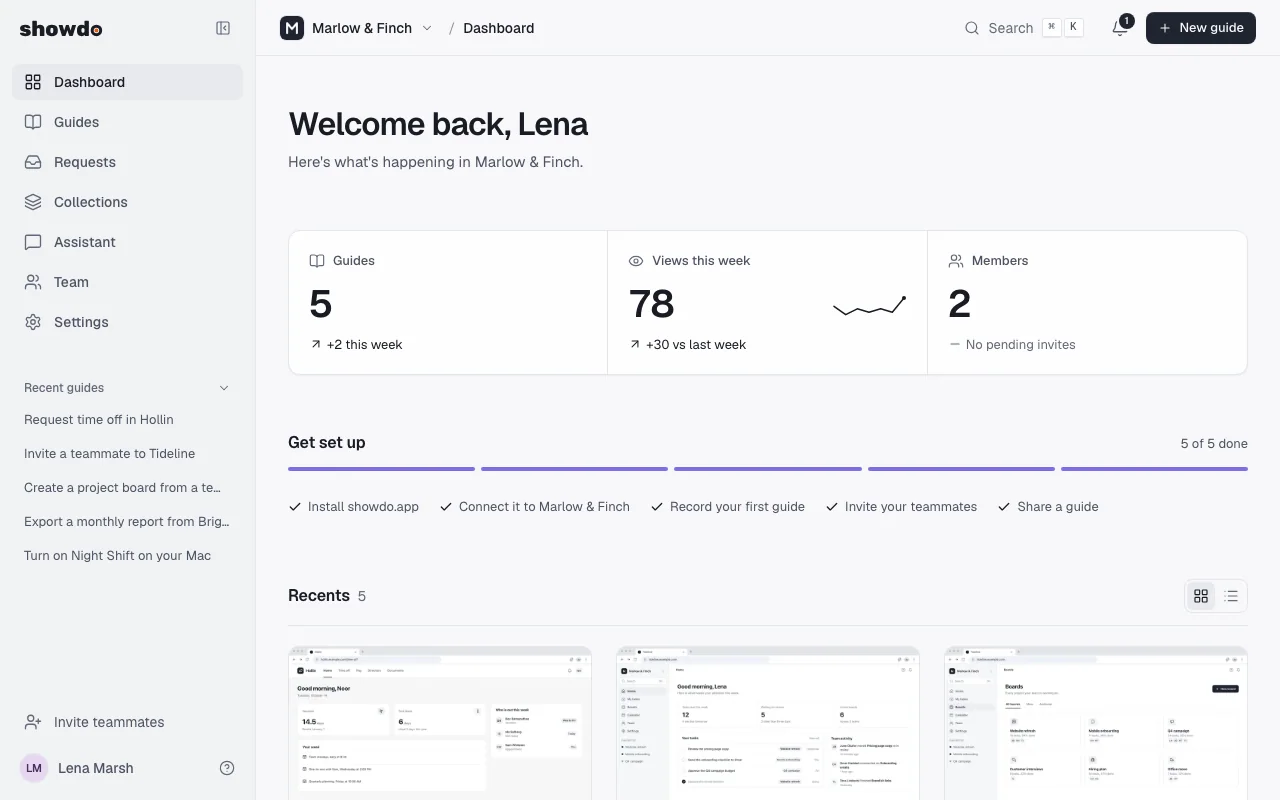
Invitations expire after 7 days. You can resend or revoke them under Pending invites on the Team page.
Pick a role for each person:
- Owner can do everything, including handing over ownership and deleting the workspace.
- Admin manages members, settings and every guide.
- Editor creates, edits and publishes guides.
- Viewer reads guides and collections.
Do it for me
Once a task is recorded, showdo can replay it for you while you watch.
showdo guide, 3 steps
Let showdo do a task for you
Open a guide's Do it for me tab and see how showdo repeats the recorded steps.
- 1
Open a guide you recorded
It works on guides recorded with showdo for Mac or showdo for Chrome.
showdo for Mac replays guides recorded on your Mac, and the Chrome extension replays guides recorded in Chrome. It only replays steps that were recorded. Keep the apps involved signed in and on the same screens you used while recording, so showdo finds everything where you left it. Admins can turn this off for the workspace.
Use your guides in your own tools (API)
Your guides can be the source for a help chatbot, an internal assistant or a search on your own site. A read-only API gives your tools every published guide, step by step, with its screenshots. For a full walkthrough with diagrams and prompts to copy, read RAG with screenshots: showdo guides as AI knowledge.
Start by creating an access key. Owners, admins and editors can create keys.
showdo guide, 7 steps
Create an access key for your own tools
Make a read-only key that a help chatbot or search can use to read your guides.
- 1
Click Settings
The key starts with sdo_ and is shown once. Keep it on your server. Requests from a web page on another website are refused, and anyone with the key can read the workspace's guides. A key you have not used for 180 days stops working; disconnect a key any time from Settings, Connected apps.
List your guides
GET /api/v1/guides?limit=100&offset=0
Authorization: Bearer sdo_...
Returns { "guides": [...], "total": 40 }, most recently updated first. limit is 1 to 100 (20 if you leave it out). Ask again with a higher offset until you reach total. Add q= to search, sorted by relevance. Each guide has id, title, summary, language, visibility, stepCount, updatedAt, appUrl and shareUrl. The list holds published guides, plus drafts written by the key's owner.
Get one guide with its steps
GET /api/v1/guides/<id>
Authorization: Bearer sdo_...
Returns { "guide": {...}, "steps": [...] }. Steps come in order; steps hidden in the editor are left out. Each step has:
- id, index and kind: click, type, key, navigate, select, scroll, screenshot or note.
- title and description, or body and variant (tip, alert, info, header) for notes.
- url and pageTitle of the screen, and element, the button or field used, with its role and label.
- click and bounds: where the click was and the box around what was clicked, as fractions of the screenshot from 0 to 1.
- imageUrl, imageWidth and imageHeight: the screenshot, with private details already blurred. The link works for one hour and can be relative to your showdo address, so download the picture when you read the guide and keep your own copy.
- text: what was typed. It is empty when showdo hid it.
Errors and limits
Errors come back as { "error": { "code": "...", "message": "..." } }.
- 401: the key is missing, wrong, disconnected or expired.
- 403: the key cannot do this, or the request came from a web page on another website.
- 404: no guide with that id, or the key cannot see it.
- 429: too many requests. Each key can make about 120 requests a minute, with short bursts of up to 60. Wait the number of seconds the message gives and try again.
Use showdo in AI apps (MCP)
Connect showdo to an AI app and ask how-to questions in plain words. The app searches your guides, reads the steps and answers with links back to the guide. It works with any AI app that supports MCP connectors.
What it is
showdo has a read-only MCP connector at https://showdo.app/mcp. MCP is a standard way for AI apps to look things up in other tools. The connector lets an app look things up in your guides. It can't create, edit or delete anything in showdo.
What the app can do
- Search guides to find the steps that answer a question.
- Read a guide with all its steps, in order.
- Look at a step's screenshot, with private details already blurred.
Connect an app
The address is the same for every workspace. You can copy it from Settings, Connected apps in showdo.
showdo guide, 4 steps
Connect showdo to an AI app
Copy the connector address, add it in your AI app, then approve the connection in showdo.
- 1
Click Settings
In your AI app, the connector may be called an MCP server, a custom connector or an app. Look in its settings for connectors, integrations or tools. After you approve in showdo, turn the showdo connector on for your chat if the app asks.
Anyone in a workspace can connect, including viewers. Each connection is for one workspace. To use a second workspace, connect again and pick the other one.
In some apps, a company admin can add showdo once for everyone in the company. People then only choose Connect and sign in to showdo, instead of adding the address themselves. Each person still signs in to showdo with their own account and picks a workspace, so showdo permissions still apply.
Questions to try
- "How do I add a new user in our admin console?"
- "Show me the steps to reset a customer's password."
- "Which guides cover setting up expense reports?"
- "Walk me through submitting a purchase order, and show the screenshot for the approval step."
- "Summarize the guide on onboarding a new hire into three bullet points."
The app answers in text and links each step to the guide on showdo.app. Whether it can also show a screenshot depends on the app.
What the app can see
- Only guides you can already open. Drafts are included only if you are an editor, admin or owner.
- Nothing from the Trash.
- Only the workspace you picked when you approved.
When you use the connector, the search results, step text and screenshots you ask for are sent to the AI app and the company that runs it. You chose to connect it, so that is the only time this happens. showdo does not get your conversation. It only receives what the app asks for, such as the search words, a guide and a step number.
Only connect apps you trust. The approval screen shows the name the app gives itself. For apps that register on their own, showdo can't check that name, so look at where it says you will go back to.
Disconnect
Open Settings, Connected apps in showdo, find AI assistants and choose Disconnect next to the app. The next request from that app is refused. Admins can see and disconnect every connection in the workspace. You can also remove the connector in the app itself.
For admins
Under Settings, Policies, turn off AI connectors to stop members connecting AI apps and block existing connections. Turning off AI features for the workspace blocks the connector too.
If something goes wrong
- "Can't reach showdo" or the connector won't connect: check that the address is exactly https://showdo.app/mcp, then remove the connector and add it again. If your company runs a firewall or proxy, ask your IT team to allow showdo.app.
- Sign-in fails or you land on an error page: start the connection again from your AI app. Don't reuse an old approval page, because each one belongs to a single attempt.
- "AI features are turned off for this workspace": an admin has turned off AI features for the workspace. Ask them to switch it back on.
- "Search isn't set up for this workspace yet": showdo is still preparing the workspace's guides for search. Wait a few minutes and ask again. If it stays, email [email protected].
- The app keeps asking you to connect showdo again: your connection was disconnected, you left the workspace, or an admin turned off AI connectors under Settings, Policies. Connect again, or ask an admin.
- The app can't find a guide you know exists: you may not have access to it, it may be a draft that only editors can see, or it may be in the Trash. Try the guide's exact title.
Stuck on something? Write to [email protected] and a person will help. Ready to try it? Get started.